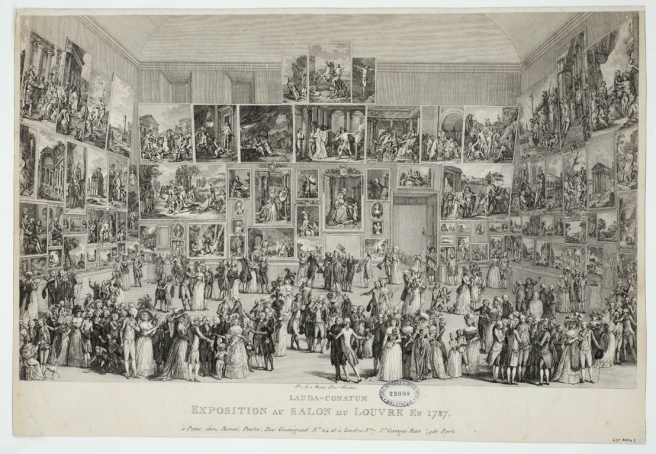
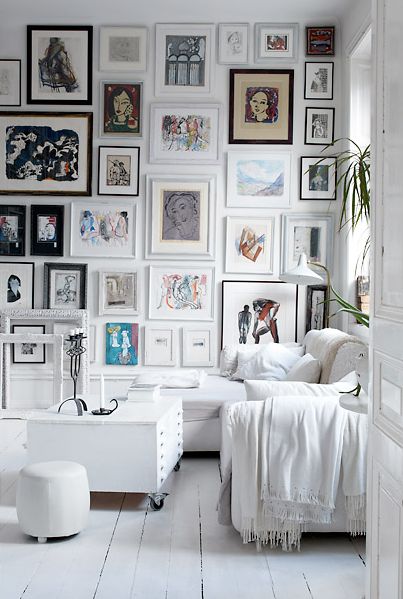
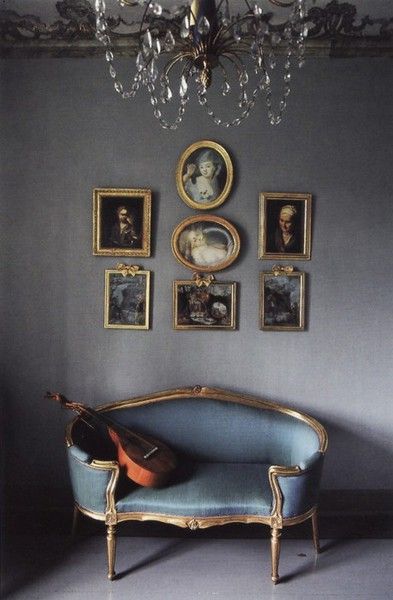
If you have a Pinterest account, admire well-dressed interiors, or have been to a museum, odds are you’ve encountered salon-style art hanging at least once. The salon-style hang originated at Paris’ French Royal Academy of Painting and Sculpture exhibition in 1667. The floor to ceiling installation of paintings was originally a practical choice to insure that all the artworks of the academy students would fit on the walls of the gallery. Besides from encouraging innovation and discussion, the French Academy’s salon exhibition was a key development in bringing artistic works out of private collections and into the public sphere. Cue the birth of the museum.
In honor of art entering the public sphere (or just because it is aesthetically pleasing), salon-style hanging is one of the most popular modes of art installation today. Keep an eye out, and you’ll see salon-style hanging in museums and domestic spaces alike. Salon-style hanging not only transports the viewer to pre-modern times – when Marie Antoinette was still in possession of a cranium, and indoor plumbing was non-existent – but the closeness of the artworks helps the eye to immediately define the similarities and differences of each piece.
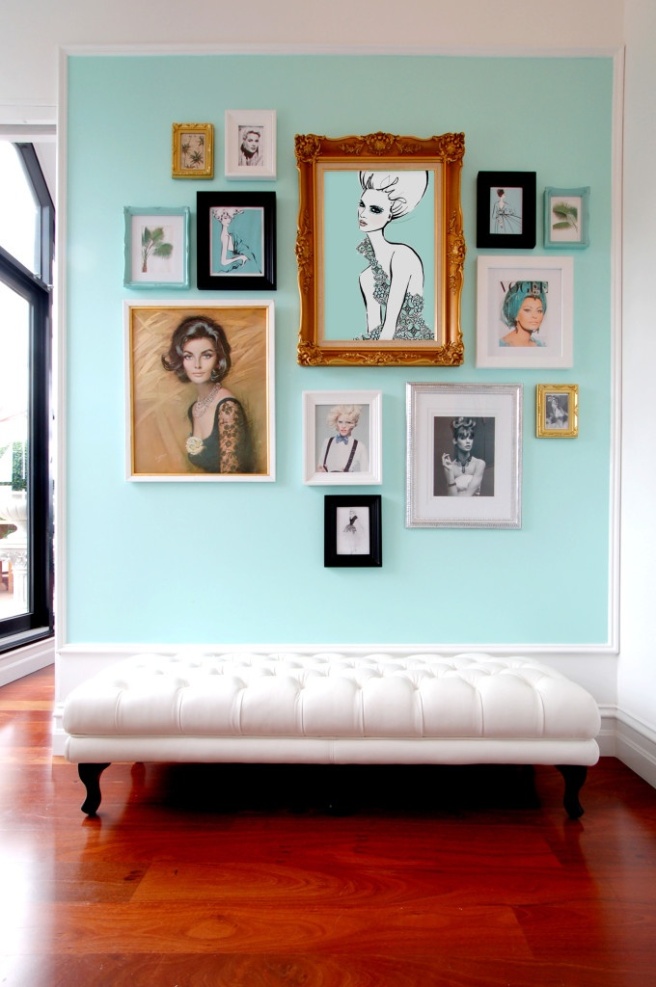
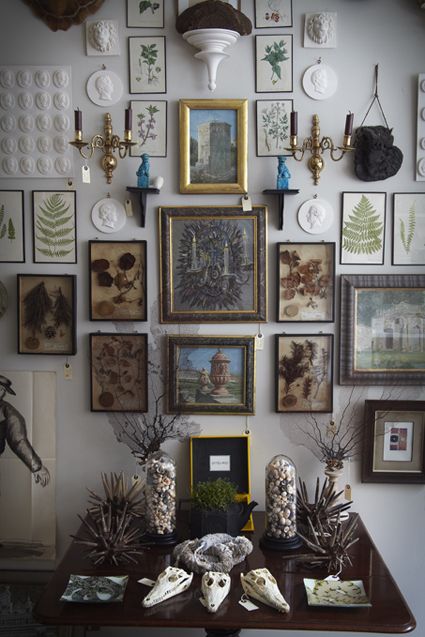
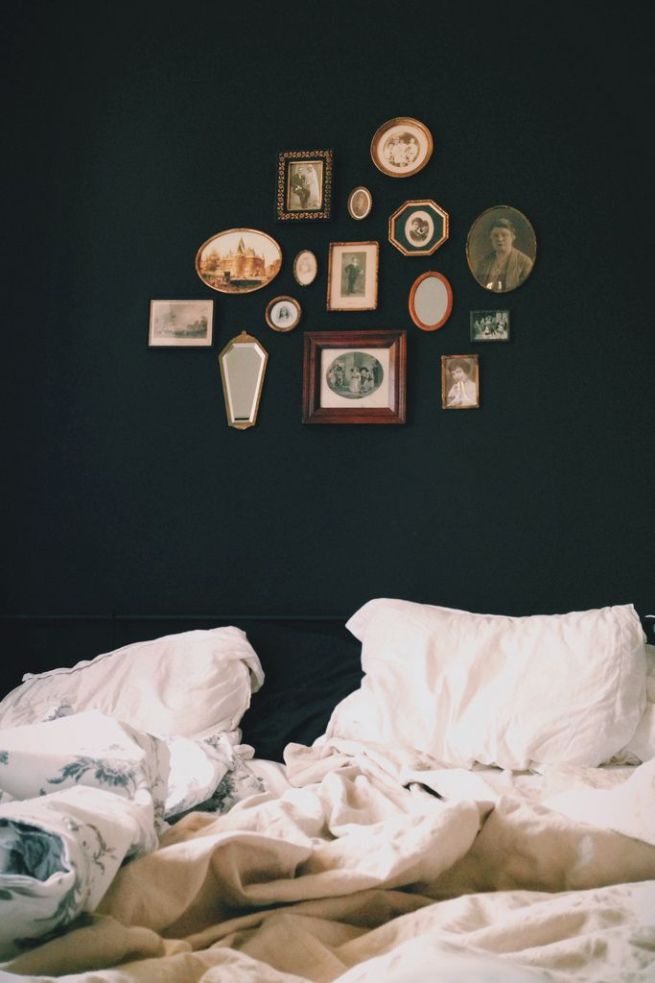
To do the salon-style hang at home, remember that you don’t need a stock of oil paintings to get the look. The first things you’ll need to do are collect a few things you want to put up and find a blank wall (regardless of size, can be big or small). In my opinion, salon-style hanging looks better when you have a variety of objects and textures. My salon wall at home includes an oil painting by Michael Eudy, a small mirror, some porcelain plates, a faux taxidermy head, and a few sub-$100 paintings found at flea markets. For an intriguing salon wall in a domestic space, it is key to display things that are meaningful to you. Below, Marty Walker, founder of the contemporary art gallery in Dallas, Marty Walker Gallery, explains how to expertly arrange and hang a salon-style wall. Marty says that she perfected her salon-style hanging chops while installing Wayne White exhibitions over the years.

Twyla Shelmire: Once you decide what pieces you want to hang, how do you start arranging the pieces?
Marty Walker: Arranging is an intuitive process, there are no strict rules. At the gallery, we would normally lay everything out on moving blankets on the floor, arrange it, then take a picture to use as a guide while hanging. We usually leave 3-5 inches between objects depending on size. Larger objects, for instance, require more spacing. Another way of doing this is using existing images of objects and arranging them in Photoshop. However, this is much more time consuming.
TS: Is there a certain shape to aim for when arranging?
MW: Think amoeba-like shape, stay away from symmetry. Use a large piece near center to anchor, or a 2-3 larger pieces to move the eye around. You can also do this by using dark objects as anchor points for movement. It really just depends on size and contrast to move the eye.
TS: Once you have an arrangement you like, how do you hang the pieces so it looks professional?
MW: Tools you’ll need are a level and a tape measure. Eye level is 56-60 inches high depending on wall height and distance from viewing art and personal preference. If you’ve laid out your composition on the floor, take a measurement side to side, and another top to bottom. Then use those figures with your total wall measurements to determine center and also so the entire composition is centered on the wall, or whatever area you have given to the composition. To avoid artwork getting crooked over time, use a couple of hangers spaced apart to use with the wire, or use mirror hangers (d-rings) on the back of artwork (drill required). If you don’t take these precautions, you will be constantly straightening pictures. In general, avoid pencil marks on wall by using blue painter’s tape. If no painter’s tape is available, cheap vodka and a paper towel works well to remove scuffing and pencil marks from light, or white walls.
The salon-style hang is a sophisticated way to display all the things you collect and love, whether it’s an installation over your desk, or over your bathtub. Head over to Pinterest to see a few more DIY examples.

