Recipe of the Month: Vegan Chile Relleno

A long time pescetarian and ardent lover of all animals alike, it was only a matter of time before the Vegan bug bit me, especially growing up and living in LA. After spending an afternoon at an Animal Sanctuary in Southern CA and meeting a few amazing animals rescued and rehabilitated, I knew I had to, at least, try. Here is a filling and delicious take on a classic Mexican dish, Chile Relleno, which translates to a “refilled pepper.” It can very easily be made using animal cheese, or without any cheese at all. Being a Vegan is certainly not for everyone and I’m a firm believer that it is about finding ways to make it fit into your life, but I would suggest taking the time to learn about farm factory practices and make the choice for yourself. Hope you enjoy!

Processed with VSCOcam with c1 preset

Vegan Chile Relleno

Serves: 1

Processed with VSCOcam with c1 preset

Ingredients:

1 Poblano pepper

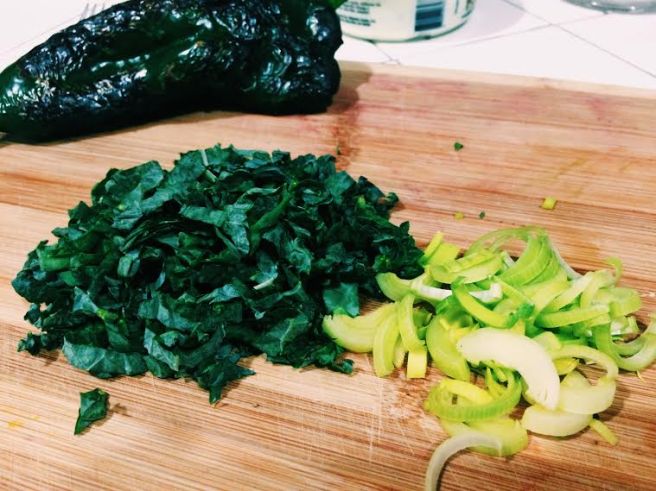
3-4 large kale leaves, stalks removed and sliced into thin strips

1 small, white sweet potato (Any kind will work, but I like the O’henry or Hannah variety)

3 tablespoons leeks, thinly sliced

1 medium Portobello mushroom

2 tablespoons Garlic sauce (can be found at Whole Foods)

2 tablespoons Olive Oil

1 teaspoon liquid smoke

Tabasco

Salt and pepper

Daiya shredded cheddar “cheese” (optional – can be found at Whole Foods)

Processed with VSCOcam with c1 preset

Steps:

Preheat your oven to 400 degrees

Using a fork, puncture the potato and throw it in the oven for 15-20 minutes, depending on its size.

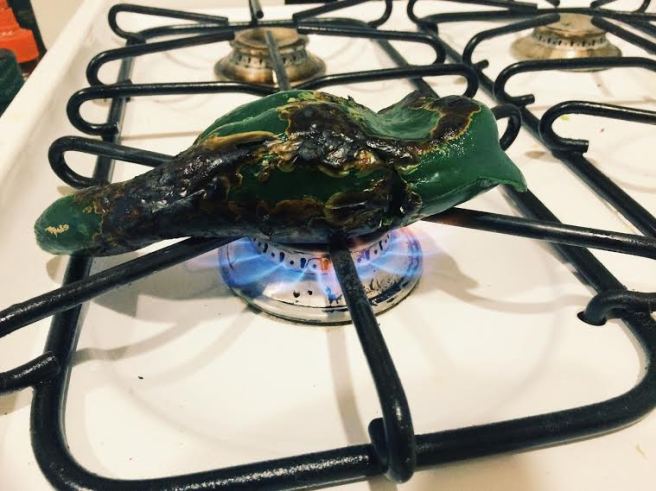
While your potato bakes, turn one of your burners up to a medium high heat and place the Poblano pepper directly on the flames. Every couple of minutes and using tongs, turn the pepper, until the skin is charred and blistered. This will both soften the pepper and add a little smokiness.

While your potato bakes, turn one of your burners up to a medium high heat and place the Poblano pepper directly on the flames. Every couple of minutes and using tongs, turn the pepper, until the skin is charred and blistered. This will both soften the pepper and add a little smokiness.

Processed with VSCOcam with g3 preset

Once the pepper is dark and toasted, remove it from the flame and allow it to cool for a few minutes before removing the stem and cutting the pepper open to remove the seeds and membrane.

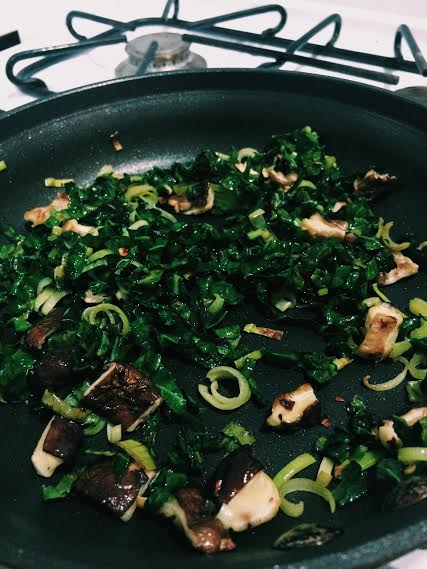
Over a medium heat, add your olive oil to a small sauté pan. Beginning with your sliced leeks and followed by your kale and mushrooms. Season with a pinch of salt and pepper and continue to cook for about 8 minutes until the leeks and kale have softened and the mushrooms have begun to brown.

Processed with VSCOcam with c1 preset

Your potato should be fork or knife tender. Don’t hesitate to cut it open and check its doneness. Once it’s done, remove it from the oven and scrape the inside of the potato into a small mixing bowl. Use a fork to mash the potato. (I love the flavor and texture of the skin, so I will slice it into thin strips and add it in, but that is up to you.)

Processed with VSCOcam with g3 preset

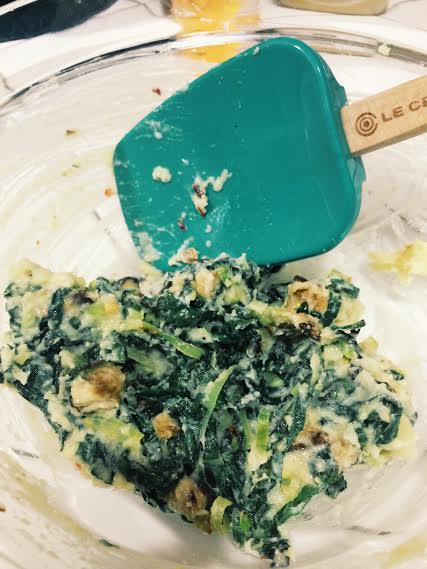
Add the sautéed veggies to the bowl and using a spoon or spatula, combine them all until mixed and evenly distributed. To bind the veggies, I add my garlic sauce and mix until combined. And finally, my liquid smoke and a few dashes of Tabasco.

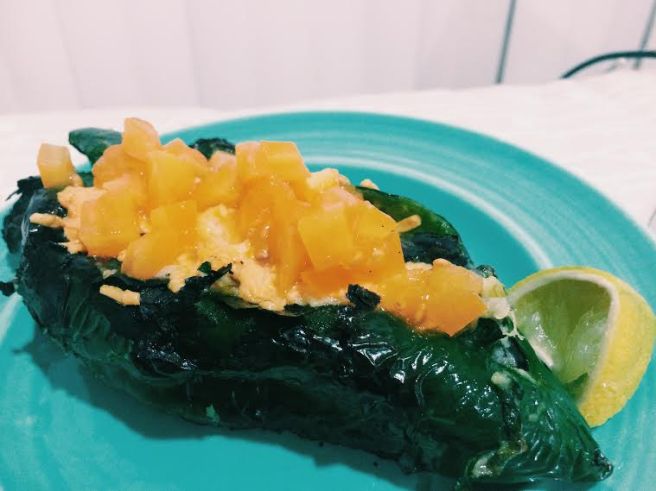
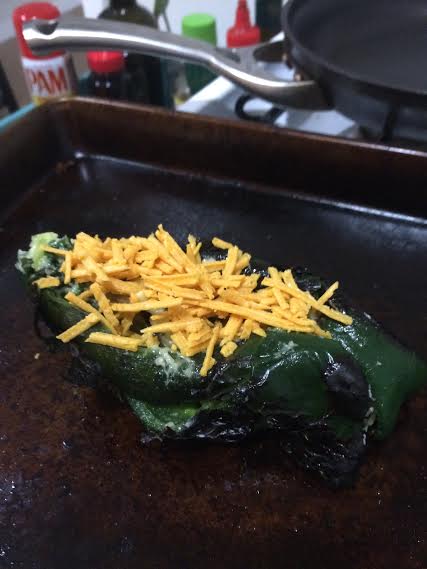
Using a small spoon, scoop the vegetable mixture into the Poblano pepper. It will definitely be a full little pepper. Place the pepper on a small sheet pan.

If you’re choosing to use daiya (or regular cheese) sprinkle a small handful on top and stick your chile relleno back in the oven for a few minutes to allow the cheese to melt.

I like to top mine with a little fresh tomato, though avocado or salsa would also be delicious.

unnamed-9

Enjoy!

Written by California Carter, Melancholic Magpie’s Resident Chef

unnamed

Recipe of the Month: Blood Orange Meringue Tart

Between working full time and planning and hosting Food With Friends, I don’t get to play in the kitchen as much as I would like. However, this weekend, I couldn’t resist the blood oranges at the farmer’s market. The beautiful winter citrus plus an insatiable love of meringue, resulted in this dessert that combines so many of my favorite flavors.

Blood Orange Meringue Tart

Serves: 8-10

Processed with VSCOcam with f2 preset

Ingredients

Crust:

12 Graham Crackers

5 tablespoons butter, melted

¼ cup granulated sugar

1/8 teaspoon salt

2 teaspoons candied ginger, finely chopped

Filling:

1 cup blood orange juice

½ a lime

4 egg yolks (Save the whites)

4 tablespoons butter

¾ cup granulated sugar

Meringue:

4 eggs whites

1 ½ cups granulated sugar

½ teaspoon cream of tartar

2 teaspoons orange zest

What you’ll need:

Cuisinart

Mixer (handheld or standup – or a whisk and some highly developed biceps)

9 inch pie or tart shell

Steps

Preheat the oven to 350 degrees

  1. To make the crust: combine the graham crackers, sugar, salt and candied ginger in the Cuisinart and pulse until you have a fine crumb. Add the melted butter and continue to pulse until the butter is fully incorporated and the mixture clumps together between your fingers.
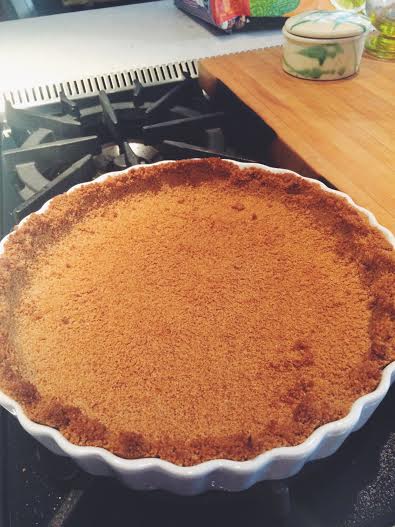
  2. Pour the crumb mixture into a pie or tart shell and use the back of a dinner spoon to press it evenly into the pan. Bake for about 12 minutes, until the edges begin to brown.

Processed with VSCOcam with f2 preset

  1. To make the filling: zest two of the oranges and set it aside for the meringue. Juice the oranges and lime, making sure to taste for sweetness and acidity. Add the juices to a small pot set over a medium heat and reduce by half, about 7-10 minutes.
  2. In a small bowl, combine the egg yolks and sugar, whisking them together until they are pale yellow and airy.
  3. Working quickly, so the yolks don’t cook, add the reduced juice to the egg and sugar mixture, whisking until combined. Return the mixture to the small pot and stir in the butter.
  4. Over a medium-low heat, cook the blood orange curd, stirring constantly, until it’s thickened and evenly coats the back of a spoon, about 3-5 minutes. Once its thickened, remove from the heat and let it cool for about 15 minutes.
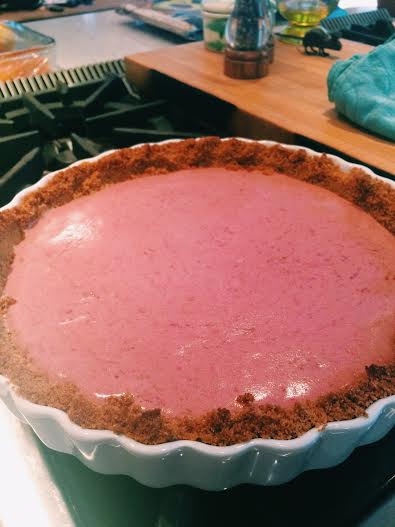
  5. Pour the curd into the bottom of your tart shell and bake for about 12 minutes, until it begins to set. Take it out of the oven and let it cool.

Processed with VSCOcam with c1 preset

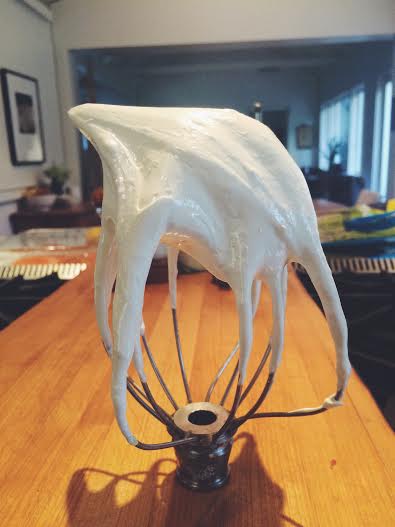
  1. To make the meringue: Put the egg whites in a bowl and mix on a high speed for about 7 minutes, until the whites are thick and frothy. Add the cream of tartar and slowly incorporate the granulated sugar, continuing to mix for another 5 or so minutes. Once you’ve got your meringue to a stiff peak, add your orange zest and whisk to combine.

Processed with VSCOcam with f2 preset

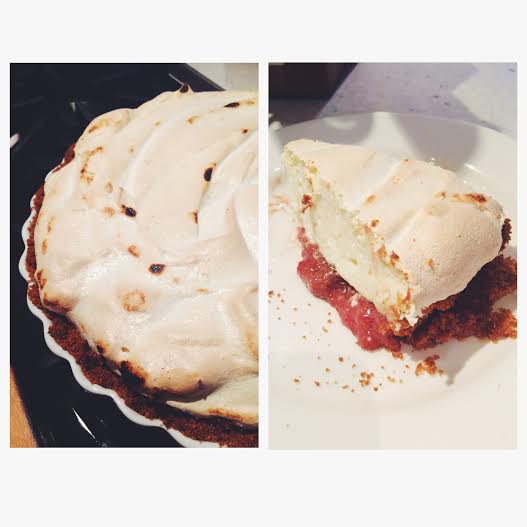
  1. Pile the meringue on top of the blood orange curd, using a spatula to smooth the top.
  2. Place the pie back in the over for another 10-12 minutes, just until the meringue is slightly golden.
  3. Remove from the oven and let it cool before serving.

Processed with VSCOcam with f2 preset

Written by Carter Goffigon

unnamed

Recipe of the Month: Shakshouka

Welcome to the newest series here on Melancholic Magpie – Recipe of the Month! As most everyone knows, the only things I can successfully make in the kitchen is a cup of tea and pan of burnt cookies. Therefore, I’m turning this monthly installment over to my favorite chef, California Carter.

unnamed

A true epicurean, Carter Goffigon loves all things food, cooking and entertaining. Born and raised in Los Angeles, she grew up surrounded by fresh ingredients and year-round inspiration. She decided to pursue that passion as a teenager, working and training in some of LA’s best restaurants as a pastry extern. In college, she was introduced to the fascinating study of food history and power of food activism. Upon moving back to LA after graduation, Carter started a small (but growing) pop-up dinner series, called Food With Friends as a way to get back in the kitchen and bring together new friends in a metropolitan city. She’s passionate about changing the way Americans interact with food and believe how and what we eat can truly revolutionize our society.

I love eggs. Any time or day, scrambled, fried, poached, baked. Gimme. I’ve been reading a lot of recipes lately for Shakshouka, a Tunisian dish, in which you poach eggs in a spiced tomato sauce. Feeling inspired and, obviously, craving eggs, I thought I’d try my hand at a variation on this savory breakfast with what I had in my fridge. Mine turned out a bit more like a hash than a sauce but it was delicious, nonetheless. Here is a hearty and slightly Italian version, full of veggies, protein and flavor – perfect to set you up for an active and productive day!

Processed with VSCOcam with f2 preset

January 2015 Recipe: Spicy Tomato Poached Eggs

Serves: 2 or 1 if you’re hungry

Ingredients.

1 cup roughly chopped tomatoes

2 garlic cloves

6-7 Calvetrano olives, pitted

¼ of a small red onion, sliced

2 tablespoons Olive Oil

1 cup cooked vegetables (I used kale, mushrooms and diced sweet potatoes from a stir fry, I’d made the night before)

2 teaspoons balsamic vinegar

½ teaspoon cayenne pepper

A pinch of cumin

1 teaspoon Sriracha chili sauce

A pinch salt

2 eggs

1 tablespoon basil, sliced in a chiffonade

Supplies you’ll need

Small non-stick sauté pan

Food Processor (optional)

Steps

  1. If you have a food processor, chop together the tomatoes, garlic and olives until finely chopped and incorporated. If you don’t have a food processor, you can finely chop these ingredients by hand, it just may take a few extra minutes.
  2. In your sauté pan, heat the olive oil over a medium-low heat and add the sliced onions. Stirring a few times, cook your onions until they are soft and slightly caramelized, about 5-7 minutes.
  3. Add your cooked vegetables to the pan and toss with the sautéed onions. At this point, you’re building the base of your sauce, so its important to let the veggies cook together for a few minutes and develop some caramelization in the pan. (Really any vegetables will work for this recipe, just make sure they are all cut to about the same size, so they heat at the same rate)
  4. Add your tomato mixture to the pan and turn the heat to low. The tomato juice will begin to simmer, bubble and thicken, this is good!
  5. Add your vinegar, cayenne pepper, cumin, sriracha and salt. Stir to combine and let reduce for another minute.
  6. Crack your eggs into a separate bowl. One at a time, make a small well in the sauce and carefully pour the egg into the pan. Repeat with the second egg. Cover and let cook for 2-3 minutes. You’re looking for the whites to be cooked through while the yolk should still be runny – test this by carefully touching both parts. The sauce will be pretty thick at this point, as much of the liquid has cooked off and been absorbed by the vegetables.
  7. Turn off your heat and gently scoop your eggs into two bowls. Surround the eggs with the vegetables and extra sauce. Garnish with some chopped basil, a sprinkle of kosher salt and a little drizzle of olive oil. (I serve mine with a slice of crusty bread to soak up the juices, but that is optional)

Note: If you want a more vibrant red tomato sauce, I would suggest using a vinegar like Red wine or champagne. I only had balsamic on hand, which has a delicious sweet flavor but will turn the sauce slightly brown.